
Article
Set Up the Google Analytics MCP Server in Claude Code on Windows and macOS
Connect Google's official Analytics MCP server to Claude Code with your own OAuth client and Application Default Credentials, so you can query GA4 data from the terminal.

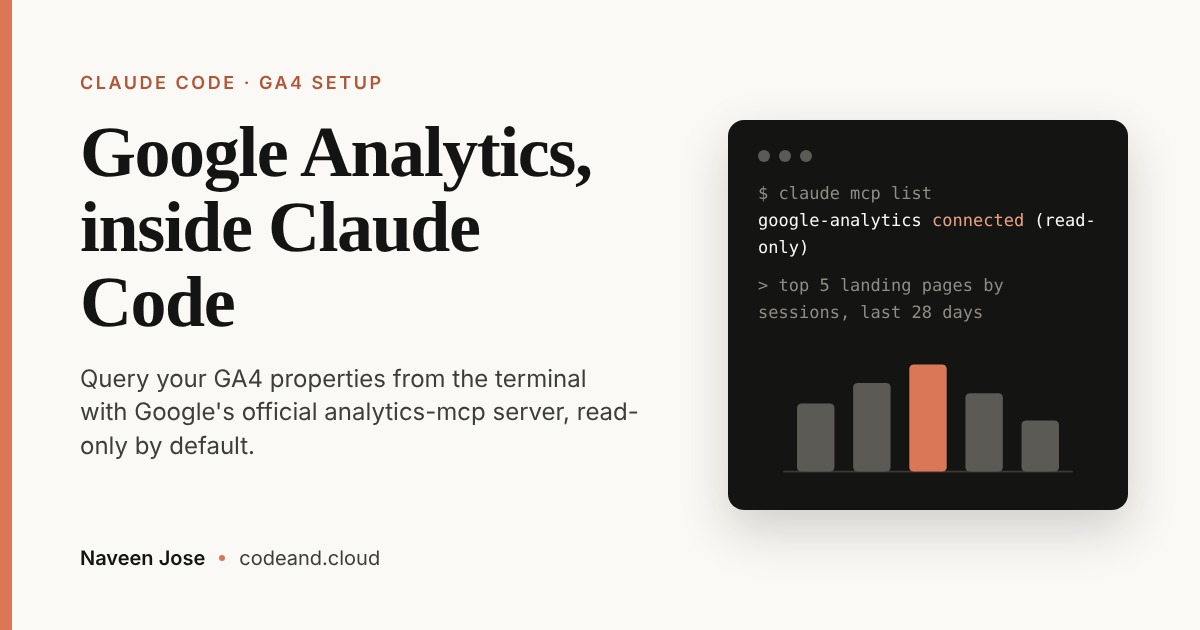
Google publishes an official MCP server for Google Analytics, analytics-mcp. Once it is connected to Claude Code, you can ask questions such as “Which landing pages lost the most sessions last month?” and Claude runs the GA4 reports for you.
The server runs locally over stdio and is read-only by default. It authenticates with Application Default Credentials (ADC) stored on your machine, so no third-party service sees your Analytics data or tokens.
This guide covers Windows (PowerShell) and macOS (zsh or bash). Commands that differ between them are shown separately.
What you need
- Python 3.10 or later, pipx, and Claude Code. If any of these are missing, open the collapsible section below.
- A Google Cloud project for connectors. If you do not have one yet, follow Create a Google Cloud Project for Claude Connectors first. This guide uses
claude-connector-4821as the project ID. Replace it with yours. - A Google account with access to at least one GA4 property. The Viewer role is enough for reports.
Install Python, pipx, and Claude Code
Windows (PowerShell)
Install Python from python.org, and select Add python.exe to PATH in the installer. Then install pipx and add its folder to your PATH:
py -m pip install --user pipx
py -m pipx ensurepath
Install Claude Code with the native installer:
irm https://claude.ai/install.ps1 | iex
macOS
With Homebrew:
brew install python pipx
pipx ensurepath
curl -fsSL https://claude.ai/install.sh | bash
Verify the tools
Close the terminal, open a new one so the PATH changes apply, and check each tool:
python --version
pipx --version
claude --version
On macOS, use python3 --version if python is not found.
Step 1: Install the Google Cloud CLI
The gcloud CLI enables the APIs and creates the credentials that the MCP server reads.
Windows: Download and run the Google Cloud CLI installer from cloud.google.com/sdk/docs/install. Keep the default options. When it finishes, open a new PowerShell window so that gcloud is on your PATH.
macOS: Install the Homebrew cask:
brew install --cask gcloud-cli
Alternatively, use the archive installer from the same download page.
Confirm the installation on either platform:
gcloud --version
Step 2: Initialize gcloud with your connector project
Run gcloud init if you have not used gcloud on this machine before:
gcloud init
It opens a browser so that you can sign in. Then it asks you to pick a project. Choose your connector project, for example claude-connector-4821.
If gcloud is already initialized with a different project, switch to the connector project and confirm the result:
gcloud config set project claude-connector-4821
gcloud config list
Step 3: Enable the Analytics APIs
The server calls two APIs: the Admin API lists accounts and properties, and the Data API runs reports. Enable both in the connector project:
gcloud services enable analyticsadmin.googleapis.com analyticsdata.googleapis.com --project=claude-connector-4821
Check that both appear in the list of enabled services:
gcloud services list --enabled --project=claude-connector-4821
Step 4: Create your own OAuth client
You might expect a plain gcloud auth application-default login to be enough. It is not. Google blocks gcloud’s built-in OAuth client from requesting sensitive scopes such as Analytics, so you create a client of your own. This is a one-time setup, and you can reuse the client for other Google connectors in the same project.
Configure the consent screen
- Open the Google Cloud console and select your connector project (Claude Connector App).
- Go to APIs & Services → OAuth consent screen. Newer consoles show this section as Google Auth Platform, split into Branding, Audience, and Clients.
- Select Get started. Enter an app name, such as
Claude Connector App, and choose your email address as the user support email. - Set Audience to External, add your contact email, accept the policy, and create the configuration.
- Under Audience → Test users, select Add users and add the Google account that has access to GA4. While the app is in Testing, only listed test users can sign in.
Create a Desktop app client
- Go to APIs & Services → Credentials → Create credentials → OAuth client ID. In the Google Auth Platform view, this is Clients → Create client.
- Choose Application type: Desktop app, give the client a name, and select Create.
- Select Download JSON in the confirmation dialog. Download it right away, because newer projects show the client secret only once, when the client is created.
Save the file in a folder of its own, outside any Git repository:
- Windows:
C:\Users\<you>\google\gcloud-oauth-client.json - macOS:
~/google/gcloud-oauth-client.json
Step 5: Sign in with Application Default Credentials
Now ask gcloud to obtain ADC through your client, with the read-only Analytics scope.
Windows (PowerShell):
gcloud auth application-default login `
  --client-id-file="$env:USERPROFILE\google\gcloud-oauth-client.json" `
  --scopes="https://www.googleapis.com/auth/analytics.readonly,https://www.googleapis.com/auth/cloud-platform"
macOS:
gcloud auth application-default login \
  --client-id-file="$HOME/google/gcloud-oauth-client.json" \
  --scopes="https://www.googleapis.com/auth/analytics.readonly,https://www.googleapis.com/auth/cloud-platform"
A browser window opens. Sign in with the test user account. Google warns that it hasn’t verified this app. That is expected for your own app in Testing, so select Continue and grant both scopes.
On success, gcloud prints where it saved the credentials:
Credentials saved to file: [C:\Users\<you>\AppData\Roaming\gcloud\application_default_credentials.json]

These credentials will be used by any library that requests Application Default Credentials (ADC).
On macOS, the file is ~/.config/gcloud/application_default_credentials.json.
Two details are worth knowing:
- Why
cloud-platformis included:gcloudexpects that scope in an ADC login, and Google’s own instructions for the server include it. Theanalytics.readonlyscope is the one the server actually uses. - Quota project: with
--client-id-file, the project that owns the OAuth client is billed for quota. That is why the APIs had to be enabled in the connector project, and why you do not needgcloud auth application-default set-quota-project.
Step 6: Add the server to Claude Code
Register the server at user scope, so it is available in every project on your machine. Claude Code stores the configuration in ~/.claude.json.
Windows (PowerShell):
claude mcp add google-analytics-mcp --scope user `
  -e "GOOGLE_APPLICATION_CREDENTIALS=$env:APPDATA\gcloud\application_default_credentials.json" `
  -e "GOOGLE_CLOUD_PROJECT=claude-connector-4821" `
  '--' (Get-Command pipx).Source run analytics-mcp
macOS:
claude mcp add google-analytics-mcp --scope user \
  -e "GOOGLE_APPLICATION_CREDENTIALS=$HOME/.config/gcloud/application_default_credentials.json" \
  -e "GOOGLE_CLOUD_PROJECT=claude-connector-4821" \
  -- "$(command -v pipx)" run analytics-mcp
Each part of the command does a specific job:
-e GOOGLE_APPLICATION_CREDENTIALS=...points the Google auth library at the ADC file from step 5. PowerShell expands$env:APPDATAwhen you run the command, so the stored value is an absolute path.-e GOOGLE_CLOUD_PROJECT=...is the project ID variable that the Google auth library reads. The server’s README also showsGOOGLE_PROJECT_ID, but the auth library does not read that variable.'--'separates Claude’s options from the server command. It is quoted on Windows because PowerShell can treat a bare--as its own end-of-parameters marker and drop it.(Get-Command pipx).Sourceand$(command -v pipx)store the absolute path to pipx. Claude Code can then start the server even when it is launched from an IDE or app whosePATHdiffers from your terminal’s.
Prefer uv? Use uvx instead of pipx
If you use uv, replace the launcher. On Windows, the last line of the command becomes:
'--' (Get-Command uvx).Source analytics-mcp
On macOS, it becomes:
-- "$(command -v uvx)" analytics-mcp
Older guides use uvx --from analytics-mcp google-analytics-mcp. That still works, because the package keeps google-analytics-mcp as a backward-compatible alias for the analytics-mcp command.
Warm the package cache
The first launch downloads the package and its dependencies. That download can take longer than Claude Code’s MCP startup timeout, and the server then shows as failed in your first session. Run the server once by hand to cache it:
pipx run analytics-mcp --help
If startup is still slow on your machine, raise the timeout for a session. On Windows, use $env:MCP_TIMEOUT = '60000'; claude. On macOS, use MCP_TIMEOUT=60000 claude.
Step 7: Verify the connection
Check the server status from the terminal:
claude mcp list
claude mcp get google-analytics-mcp
You should see google-analytics-mcp with ✓ Connected. Inside a Claude Code session, /mcp shows the same status and lists the server’s tools.
Start with prompts that exercise each group of tools:
- “List my Google Analytics accounts and properties.” This calls
get_account_summariesand gives you the property IDs to use in later prompts. - “For property 123456789, show sessions and engaged sessions by default channel group for the last 28 days.” This calls
run_report. - “How many active users are on the site right now, by country?” This calls
run_realtime_report. - “What custom dimensions and metrics does property 123456789 have?” This calls
get_custom_dimensions_and_metrics.
The server also provides get_property_details, list_google_ads_links, list_property_annotations, and run_funnel_report.
The server is read-only unless you start it with --allow-write and sign in with the extra analytics.edit scope. Currently, the only write tool creates property annotations, so for reporting you can leave the server read-only.
Troubleshooting
“Access blocked” or access_denied in the browser. The account you signed in with is not a test user, or the login did not use --client-id-file. Add the account under Audience → Test users, and then rerun step 5.
403 SERVICE_DISABLED or “API has not been used in project …”. The Admin API or the Data API is not enabled in the project that owns your OAuth client. Rerun step 3 against that project. The number in the error message is the project number, which you can match with gcloud projects describe.
403 PERMISSION_DENIED for a specific property. The signed-in Google account cannot access that property. Grant it at least Viewer access in GA4 under Admin → Property access management.
invalid_grant or “Token has been expired or revoked” after about a week. Refresh tokens for an External app in Testing expire after seven days. Rerun the login in step 5. To stop the weekly re-login, open Audience and select Publish app to move the app to In production. As a personal, unverified app, it still shows the “unverified” warning, but its tokens no longer expire after a week. Sign in again once after publishing to get a long-lived token.
The server shows as failed or timed out. Warm the cache as shown in step 6, or raise MCP_TIMEOUT. Run pipx run analytics-mcp --help in a terminal to see any Python or network errors.
You changed credentials, but Claude still uses the old ones. MCP servers start with the session. Exit Claude Code and start it again.
Keep the credentials safe
The ADC file contains a refresh token for your Google account. Treat it like a password. Never commit it, never paste it into an issue, and never copy it into a shared folder. The OAuth client JSON is less sensitive, because desktop client secrets are not truly secret, but keep it out of repositories as well.
When you stop using the connector, revoke the credentials and remove the server:
gcloud auth application-default revoke
claude mcp remove google-analytics-mcp -s user
Revoking the ADC also affects any other local tool that relies on ADC, so run gcloud auth application-default login again if you still need it elsewhere.
Related articles
Keep reading
Oct 1, 2026
Create a Google Cloud Project for Claude Connectors
Set up one dedicated Google Cloud project to own the APIs, OAuth client, and quota for the Google MCP servers you connect to Claude.
Jul 14, 2020
Configuring Multiple GitHub Accounts in Windows Using SSH
A practical guide to keeping personal and work GitHub accounts side by side on Windows with separate SSH keys.
May 5, 2020
Integrating ESLint to VS Code
A quick walkthrough for setting up ESLint in VS Code for JavaScript or TypeScript projects.